 |
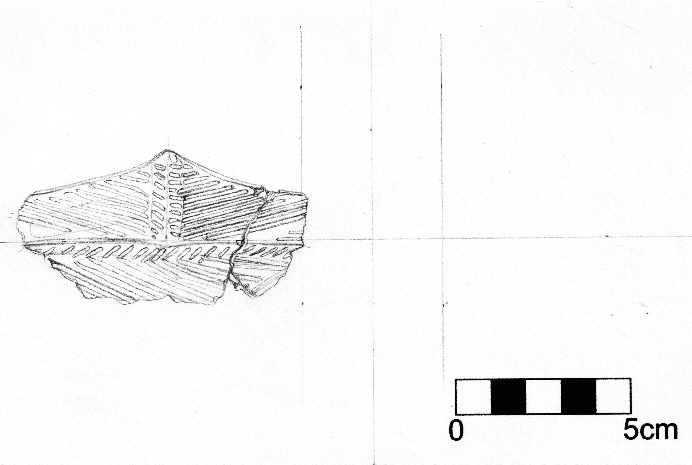
Here's a series of images that show how I illustrate. This particular artifact required three perspectives: front, back and a cross section.
|
Pencil outline I trace the artifact, and then sketch in the major features in pencil. |
 |
|
Inking
begins for the first perspective I start to fill in the features by stippling it with a technical pen. Light source is consistently in the upper left. |
 |
|
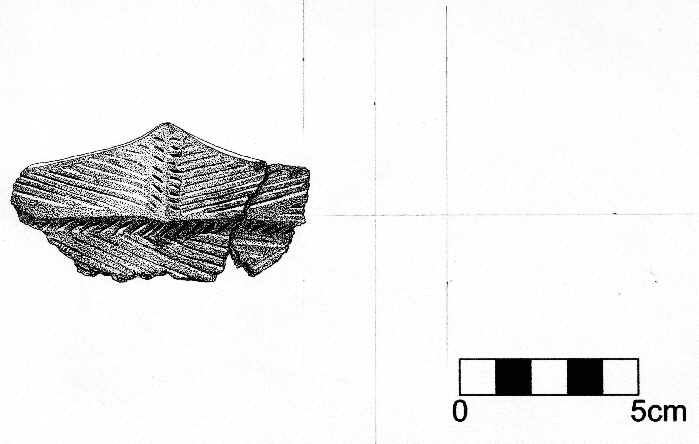
Inking is complete for the first perspective All of the major features have been inked in roughly. Pencil lines are still visible, so I don't expect this to be the final version. |
 |
|
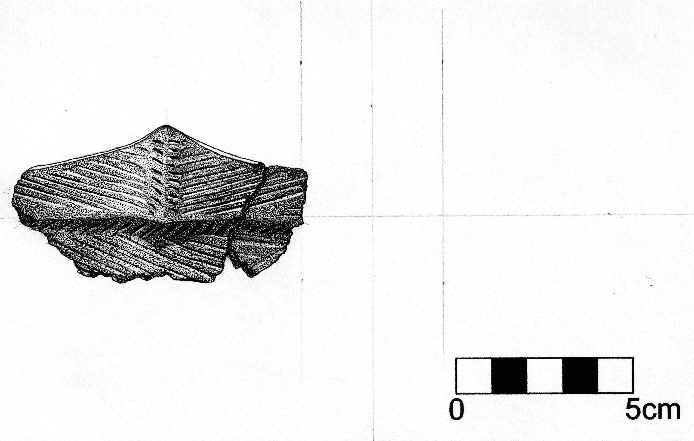
Pencil is erased I erase the pencil outlines, and the whole image lightens up. The pencil may show up in these scans, but may not necessarily show up on PMTs that have a very high contrast. So to be sure that the image shows up exactly the way it is designed, the drawing must only be ink. |
 |
|
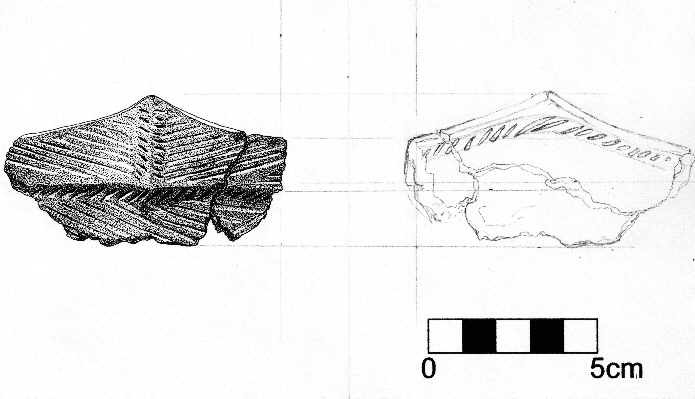
Pencil-in the second perspective I put the pencil guidelines in place, and then sketch the inside view of the shard. |
 |
|
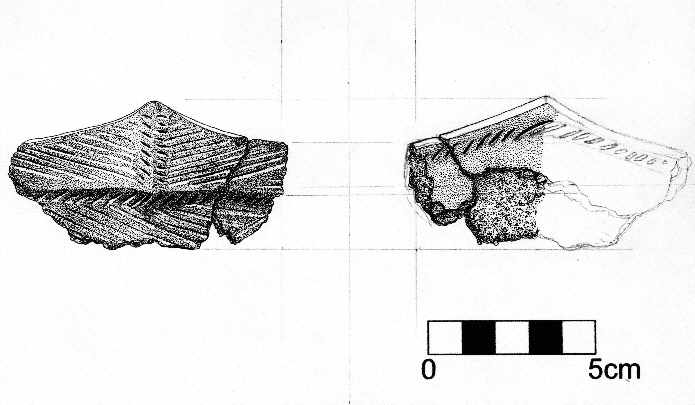
Inking begins on second perspective As before, I begin the stipple the existing pencil marks. |
 |
|
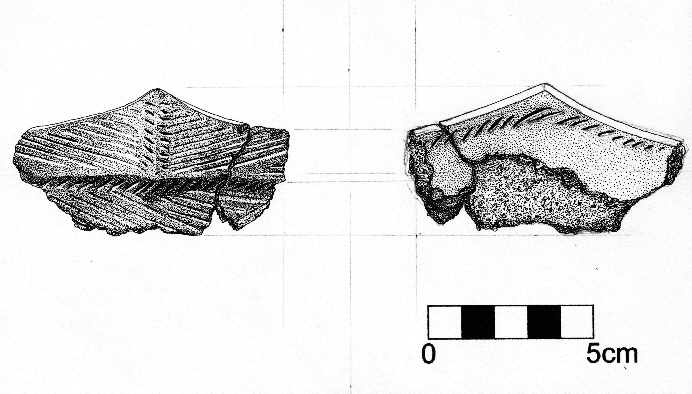
Inking is complete for the second perspective Major features are in place for the inside view. |
 |
|
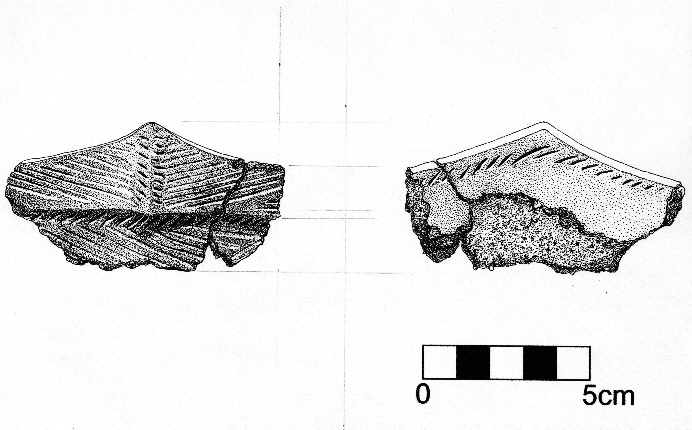
Erase the pencil outline of the second perspective I erase the pencil outlines. |
 |
|
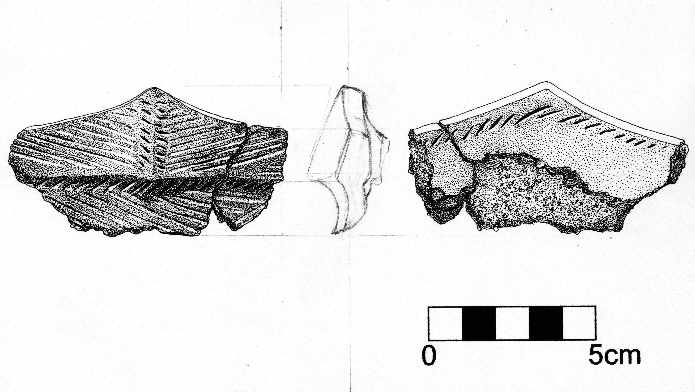
Sketch in the cross-section perspective This can be kind of complicated, especially with a piece like this one that is curved. I want to show what the curve is like, but also show how thick the pottery actually is and how stout it is at the edge. |
 |
|
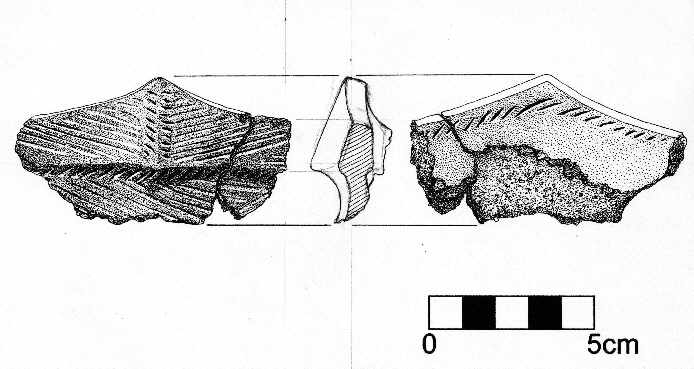
Inking the cross-section This perspective isn't shaded like the other ones. Only a part of it is cross-hatched. I also ink in the lines connecting the drawings. |
 |
|
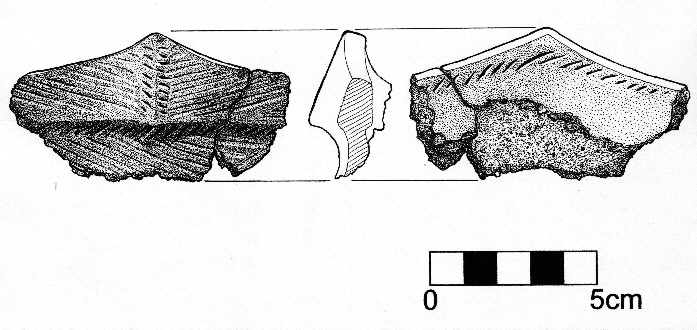
All pencil is erased All trace of pencil is removed. |
 |
|
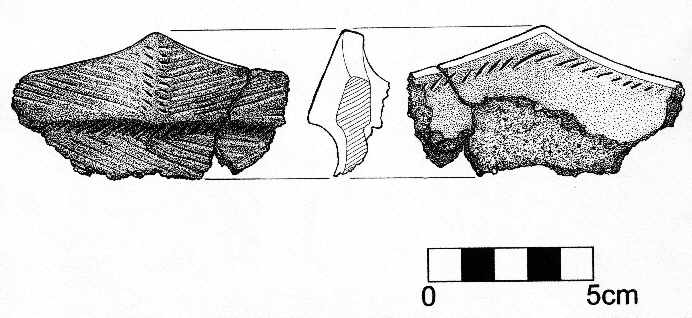
Final features With all of the pencil gone, I can get a much better idea of how the features are showing up, and how the shadows appear. The whole artifact should appear curved, and this effect is achieved by gradually darkening the outer edges. The decoration on the ceramics is shown by darkening the upper left edge, and lightening the lower right one. |
 |
Dwayne James, Web Portfolio
Résumé
|
Writing
Samples
|
Information Design
Skeletal material
Computer Graphics
|
Logo Designs
|
Portraits
|
Posters
| Watercolours |
Wall Mural
Design
Back to the Home Page